

  |  | ||
This section explains how to store a document in an Information Box.
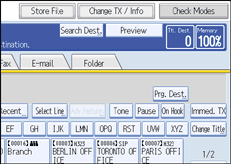
Press [Change TX / Info].

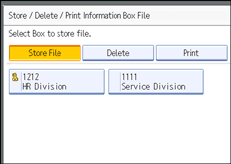
Press [Store / Delete / Print Information Box File].
Select the box in which you want to store the file.

When there are pre-programmed files, a file mark appears to the left of the box name.
A message is displayed if you select a box with a file stored in it. Press [Yes] when changing the file. The stored original file is overwritten.
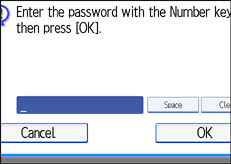
If a password has been set for the box, enter the password, and then press [OK].

If you make a mistake, press [Clear] before pressing [OK], and then try again.
To cancel entering a password, press [Cancel]. The display returns to that of step 3.
Place the original, and then select the scan settings you require.

You can also select the following settings:
Original Orientation
Original Settings (The ADF is required.)
Stamp (The ADF is required.)
Press the [Start] key.
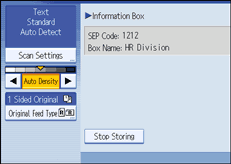
The machine starts to scan the original.
To stop scanning, press [Stop]. The display returns to that of step 3.
To store a document in another Information Box, repeat from step 3.
Press [Exit] twice.
The standby display appears.
![]()
One Information Box stores one file.
The stored file is not deleted automatically. If you want to delete a stored file, see "Deleting Information Box Documents".