

  |  | ||
Open the printer properties dialog box.
Click the [Maintenance] tab.
Click [Display Status Monitor].
The Status monitor dialog box appears.
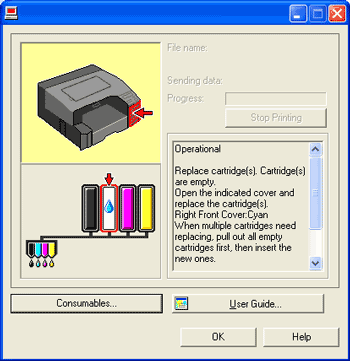
Check the cartridge status.

In the above illustration, the cyan Print cartridge is empty.
If the background of the image in the top left corner of dialog box is yellow, the indicated cartridge is empty. Printing can continue using ink remaining in the printer; however, no ink is left in the print cartridge. Check which color of cartridge needs to be replaced, and then replace it.

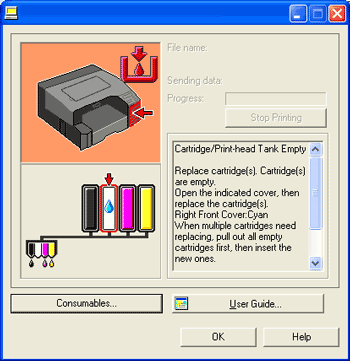
In the above illustration, the cyan ink has completely run out.
If the background of the image in the top left corner of dialog box is red, the printer has run out of the indicated ink. Printing cannot be performed. Replace the Print cartridge.
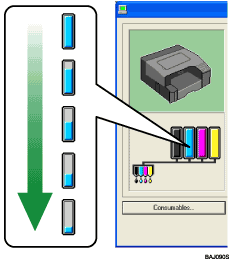
From left to right, the cartridge replacement indicators display the status of the black (K), cyan (C), magenta (M), and yellow (Y) Print cartridges.
![]()
The cartridge status can be used for determination of cartridge change.

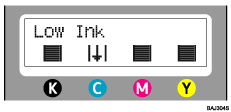
A message indicating to replace a print cartridge can be also checked on the control panel.

![]()
Be sure to insert the print cartridges correctly. If you insert them incorrectly, Status Monitor might not be able to detect the amount of ink that is remaining in the cartridges. For details about handling the print cartridges, see Handling Print Cartridges.